My Developer Workflow on macOS

Update 02/07/2026
In this post, I’ll share what I believe to be the most productive way to develop applications on macOS. Before we get started, you can find my dotfiles on GitHub.
Prerequirements

The only essential requirement to achieve the same level of efficiency is touch typing. In my experience, you need to reach a typing speed of around 60 words per minute to feel completely comfortable.
There are many services to learn this skill, but my favorite — and the one I personally used — is Ratatype.
I highly recommend doing some key remapping. I use Karabiner-Elements for this. First, remap Caps Lock to Control or get yourself a split keyboard. It’s one of the most frequently used modifier keys, but its default position is pretty uncomfortable. You’ll thank yourself later.
Another useful thing I’ve done with Karabiner is setting up a Hyper Key. A Hyper Key is a single key mapped to all four modifier keys at once: Control, Option, Command, and Shift. This makes it easy to assign custom shortcuts without conflicts. I use it for all of my AeroSpace shortcuts.
Window Manager
AeroSpace is an i3-like tiling window manager for macOS. After trying several options, this one felt the most natural and flexible. It gives me unlimited virtual workspaces, predictable window behavior, and the ability to fully control navigation with the keyboard.
Initially, my setup was fairly simple: a few numbered workspaces and manual switching. Over time, I evolved the configuration into something more semantic and automated — each workspace is now tied to a specific purpose and, in many cases, to a specific application.
Workspace Philosophy
Instead of thinking in numbers, I now think in contexts. Each workspace has a name and a shortcut that reflects what I actually do there:
- [B]rowser
- [C]alendar
- [D]atabase
- [E]mail
- [G]UI
- [M]usic
- [N]otes
- [R]eminders
- [S]ocial
- [W]ork
- [Return] (Terminal)
- plus a few numbered utility workspaces
Keyboard-First Control
All navigation is built around a Hyper Key and Vim-style movement keys:
- H J K L — focus windows
- Shift + H J K L — move windows
- 1–4 — quick numeric workspaces
- Letters — semantic workspaces (B for Browser, M for Music, etc.)
- Return — open or jump to Terminal
Automation
The real power comes from automation. Apps automatically move to their dedicated workspace on launch. If I trigger a shortcut for an app that is already running, AeroSpace switches me to its workspace instead of opening duplicates.
Terminal
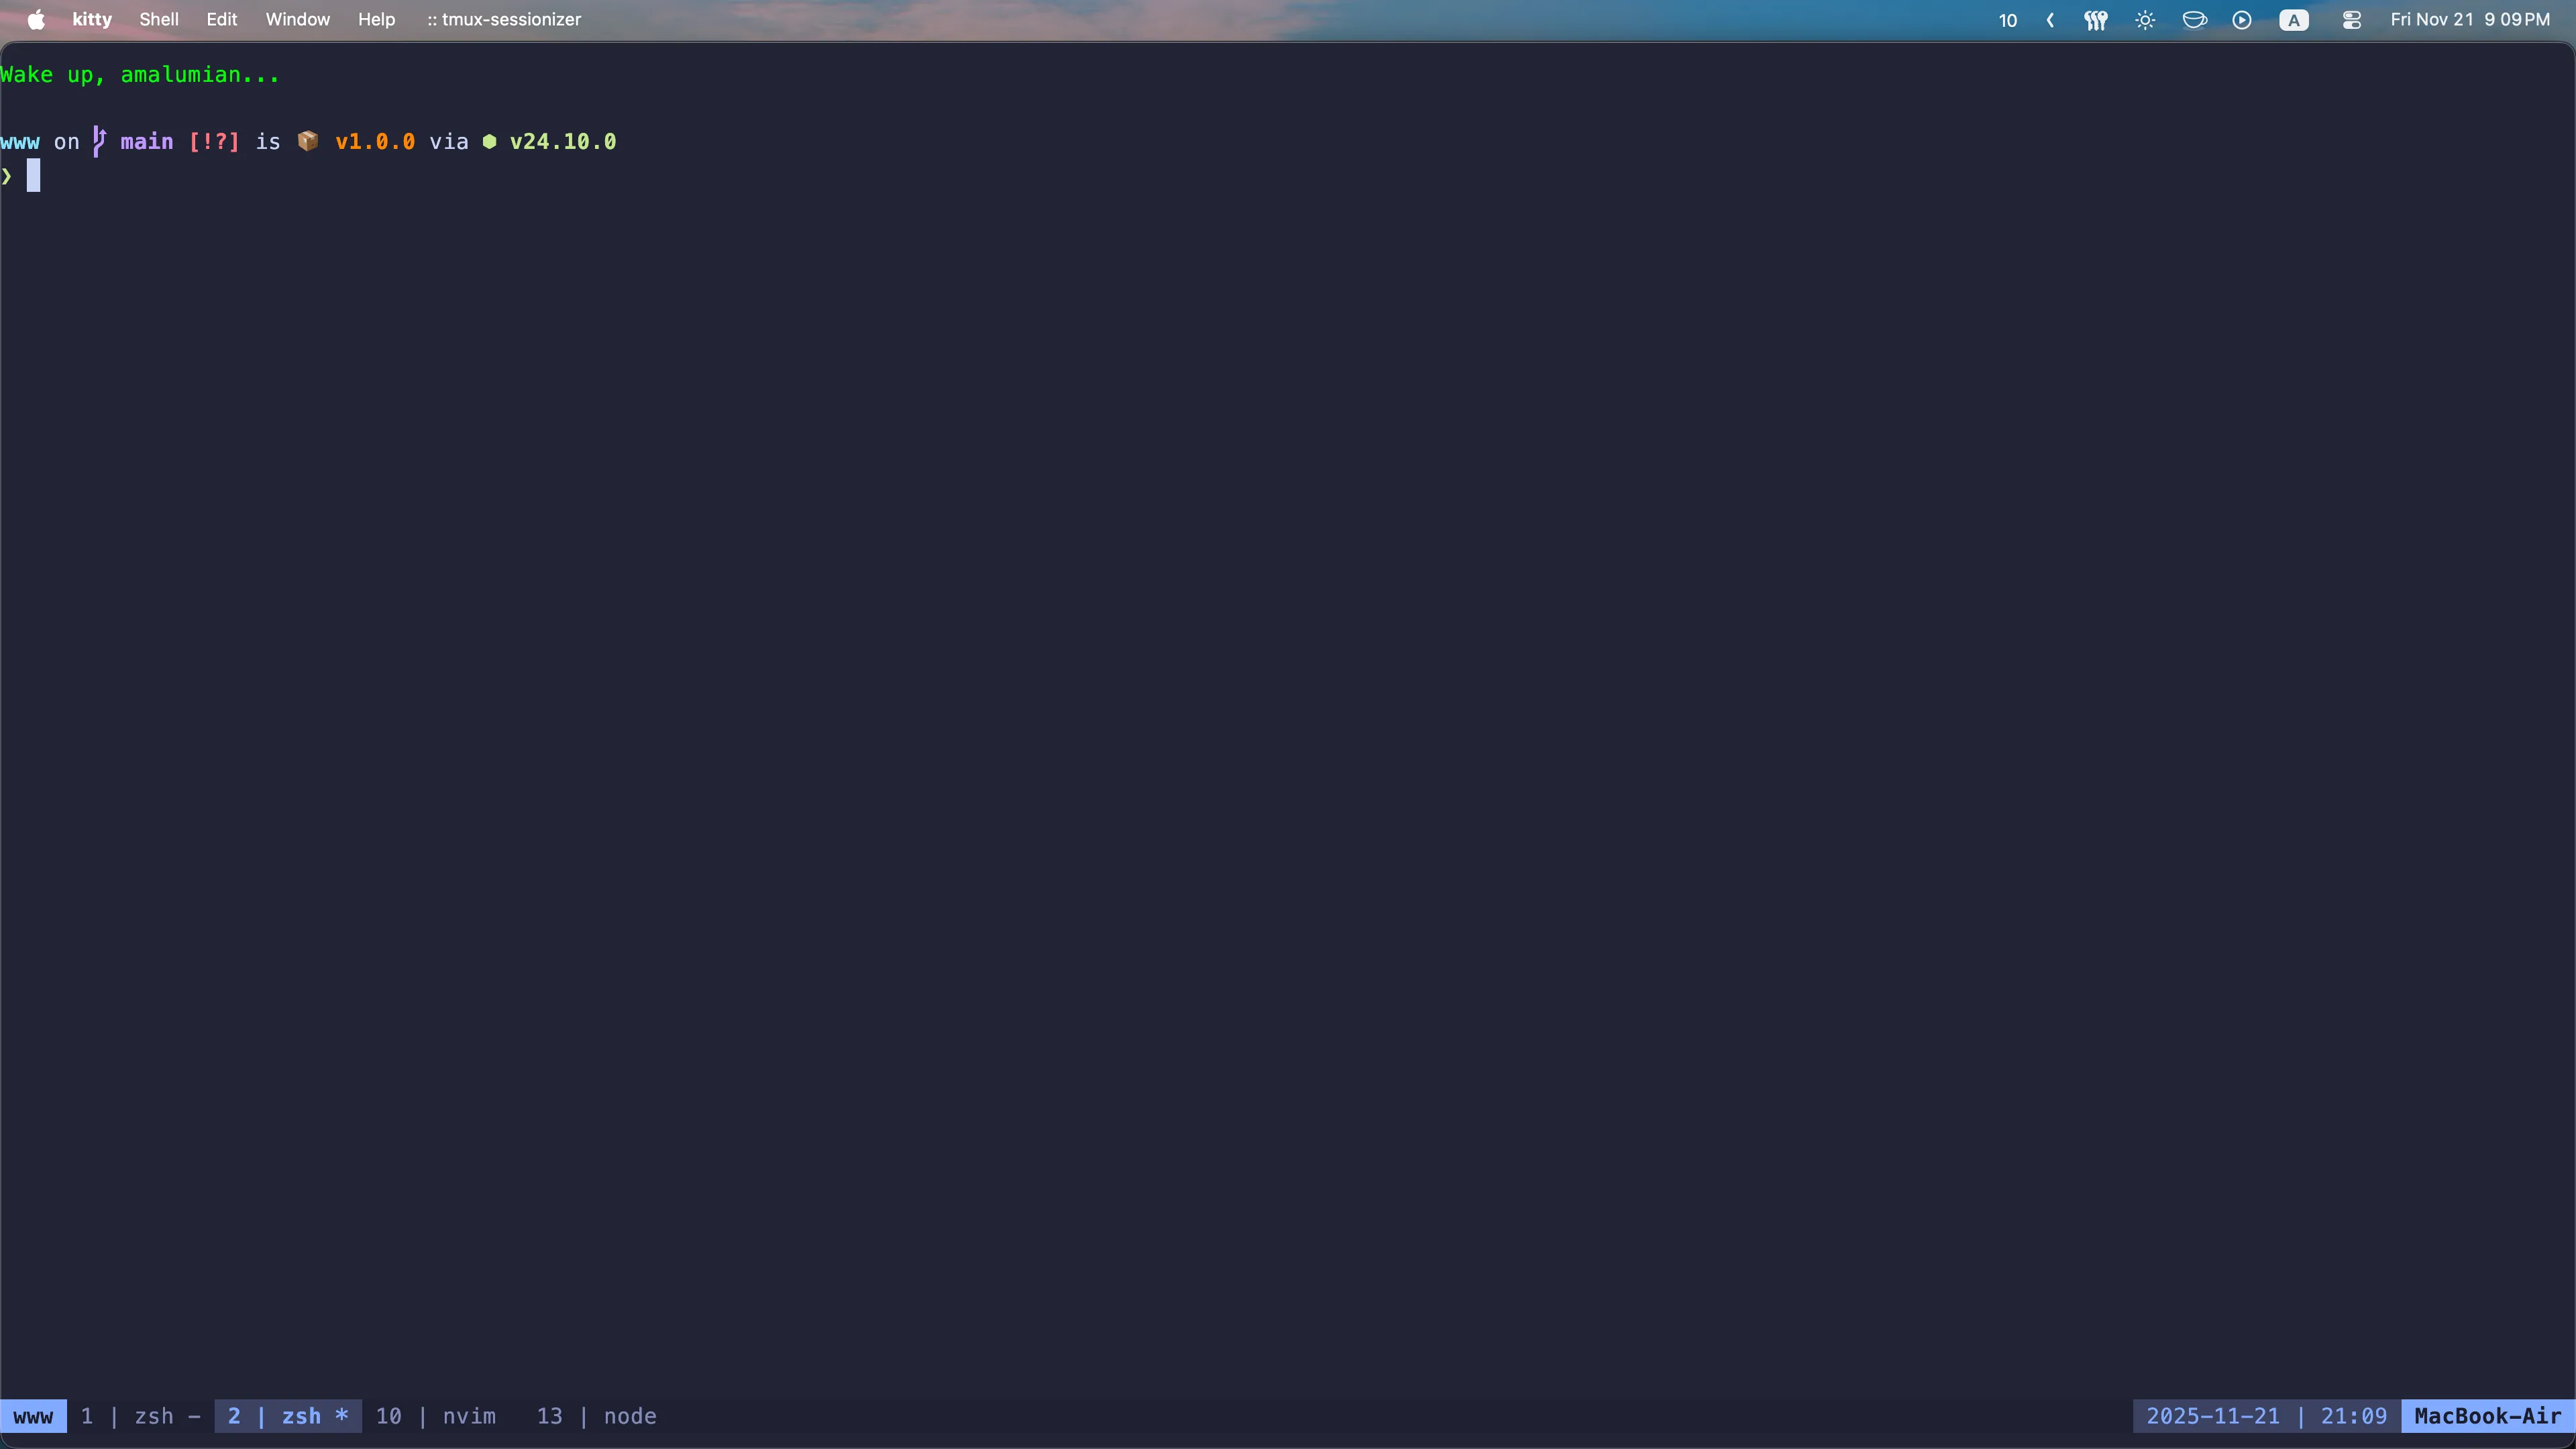
I use kitty, a lightweight and highly configurable terminal. Before that, I used iTerm2, but I didn’t really like configuring it through the GUI, and it felt heavier. However, iTerm2 did render colors and fonts a bit better.
tmux

tmux is a terminal multiplexer — it probably needs no introduction. One small tweak I highly recommend is changing the default window index from 0 to 1. Since the number keys on the keyboard start at 1, it just feels more intuitive. I also suggest remapping the pane navigation shortcuts to Vim-style hjkl.
What really takes productivity to the next level is pairing tmux with tmux-sessionizer. This simple yet powerful tool lets you quickly switch between predefined tmux sessions for different projects. At work, I often handle three repositories simultaneously, and tmux-sessionizer makes it seamless. It’s incredibly convenient and saves a lot of mental overhead.
Neovim
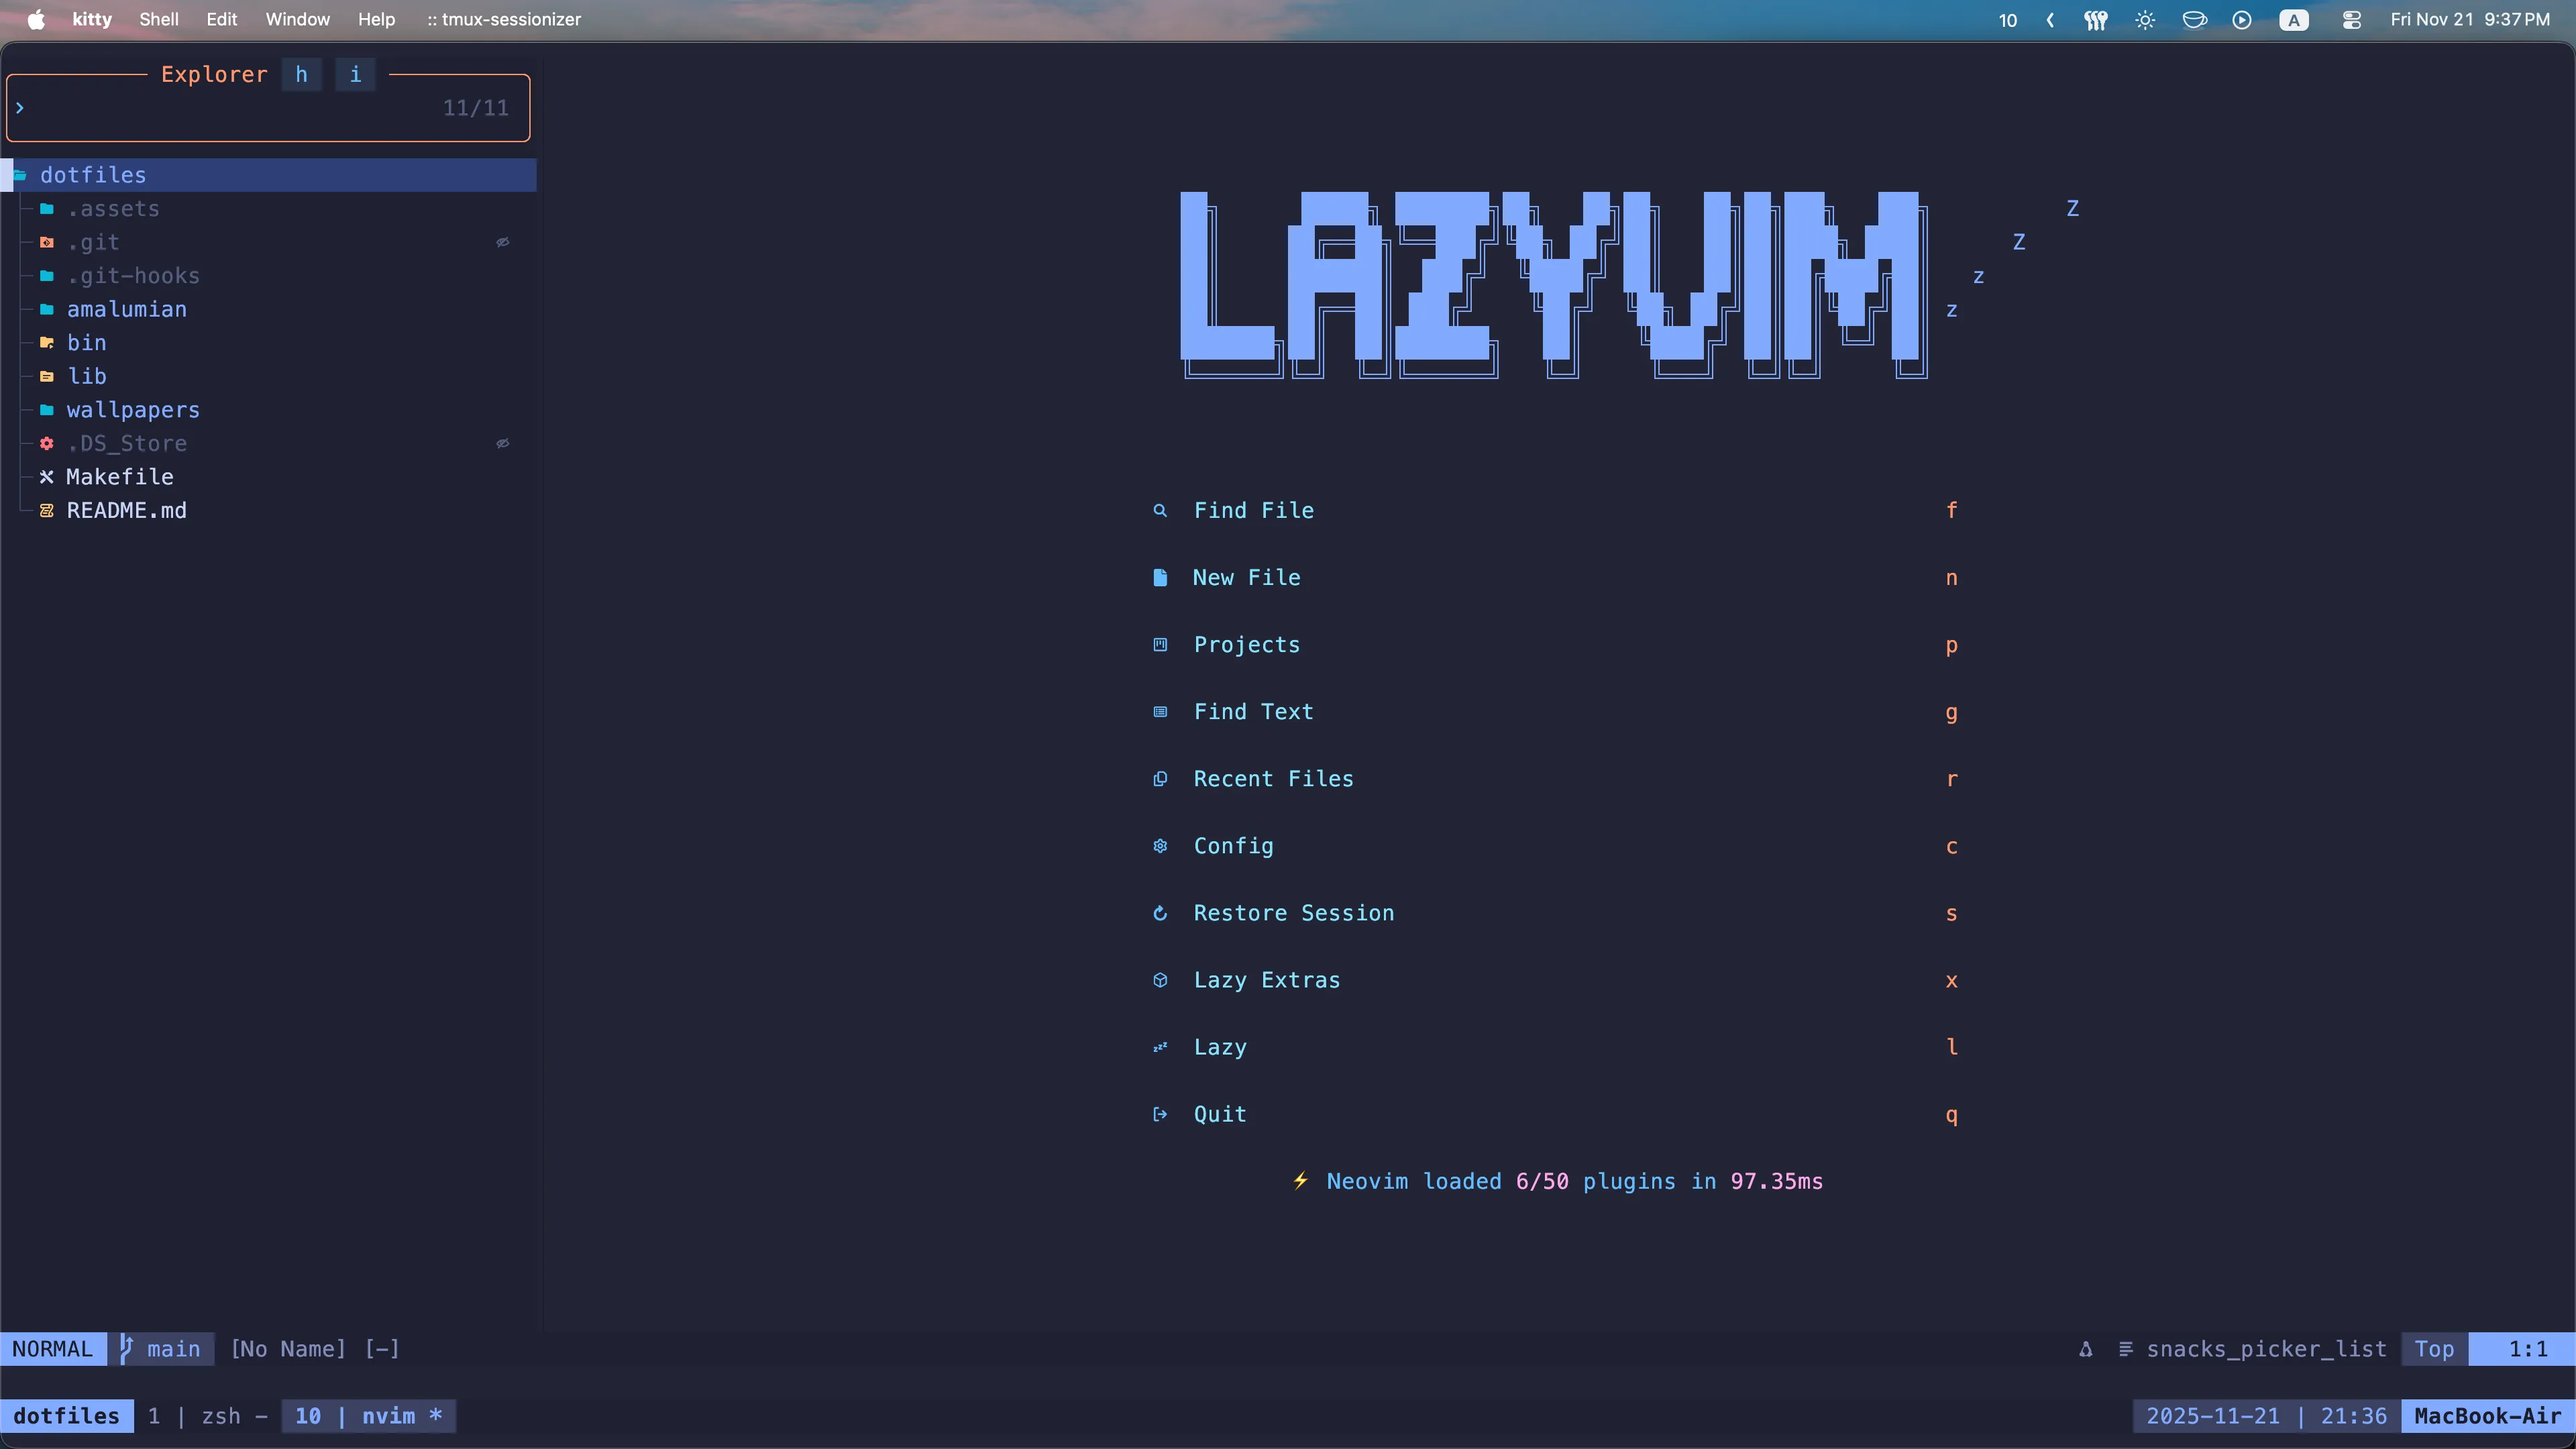
Vim is the best text editor, and Neovim takes it even further. It provides one of the most efficient and comfortable ways to work with text.
You can either configure Neovim yourself or use a pre-configured setup like LazyVim. I ended up choosing LazyVim and even wrote a post about why.
If you want to get started with Neovim, begin by learning the basic Vim motions. A good first step is to install a Vim plugin in your current code editor, whether it’s WebStorm, VS Code, or something else — it doesn’t matter. Just get comfortable with the Vim motions. Once you feel confident, move on to the full Neovim experience in the terminal.
mise
[tools]
lua = "5.1"
node = "latest"
rust = "latest"
go = "latest"
python = "latest"
ruby = "latest"
clojure = "latest"
haskell = "9.4.8"
For managing different versions of programming languages, I use mise. It lets you install all the necessary languages with a single command: mise install. Additionally, you can configure a specific version of a language to be used for a particular project.